
Upload Files to Azure Data Lake Storage
Uploading a files to Azure Data Lake Storage can be done either using Azure Portal or Azure Storage Explorer.
Here we will see, how to upload files to Azure Data Lake Storage using Azure Portal.
Lets see a sample data file named as EmployeeInfo, that we have in window directory.

Lets upload this file to Azure data lake storage.
Go to Home, select Azure data analytics account, here we have a account named as azuredatalakeacc under ResourceGroup named as azureresource.
Now, within azure Data lake analytics azuredatalakeacc click on Data explorer.

After that a Data Sources page opens, click on storage account named as oneazuredatalakeaccount.

Once you click on storage account, a Data Explorer page opens within Data Explorer, Lets create a new folder.
Click on New Folder.

Lets give it name as EmployeeData, as we are going to upload employee’s data files.
Next click on OK button.

After that, you will see a EmployeeData folder that is created under Data Lake storage account.
To upload the file, Select the folder (EmployeeData) first then click on Upload button.

Next, a upload files page opens. Select a File from window directory that you want to upload.

Once you select files to upload, click on Add Selected Files button.

Once you click on Add selected files button, you will get a notification message on successful uploading of file on the top right corner of page, also a uploaded file information with status can be seen in grid.

Now, to see the uploaded file’s data, go back to Data Explorer, then select EmployeeData folder.
After that you will see a file EmployeeInfo.txt in grid, click on that file.

Here you can see, file preview.
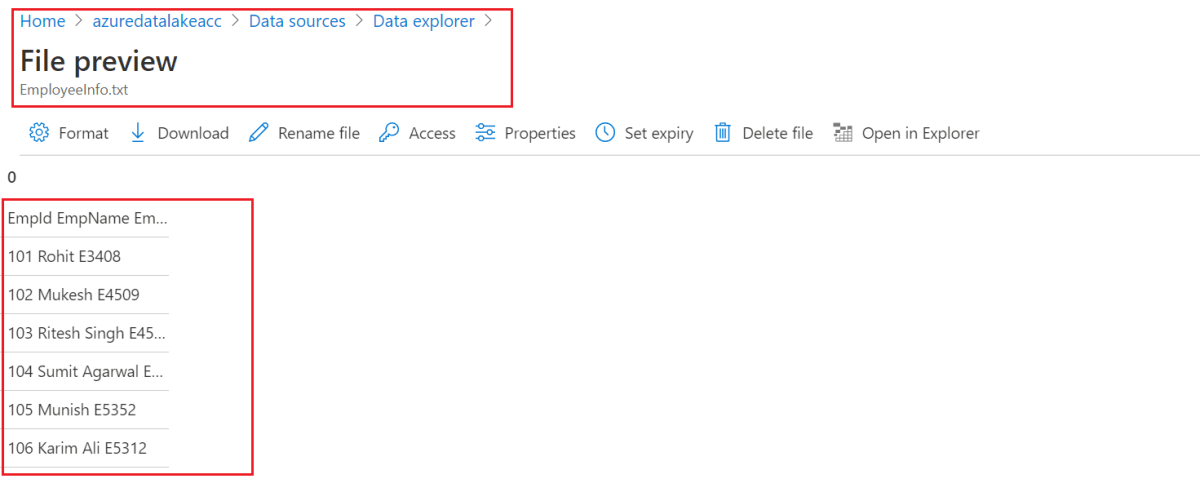
Also you can set file format, rename the file, check file property, delete file, and download the file.
You can also set a permission for files.

Also Read..
Create an Azure Data Lake Database
Create a Schema and Tables in Azure Data Lake Database
Load Data from Azure Data Lake Storage to Azure Data Lake Database
![]()